This post may contain affiliate links which means we may receive a commission for purchases made through links. As an Amazon Associate we earn from qualifying purchases. We will only recommend products that we have personally used!
Are you an avid traveler, seeking adventures on the open road in your beloved RV or travel trailer? If so, you’ll know that the joy of camping is not just about the journey but also about creating memorable moments at your destination. Imagine cozy evenings under the stars, surrounded by the warmth and ambiance of a propane firepit. In this blog post, we’ll guide you through the process of converting your Outland propane firepit to connect directly to your RV using a replacement LP hose with a quick connect end. Get ready to enhance your camping experience and embrace the convenience of a propane firepit that can be used at any campsite, regardless of wood fire bans!
Step 1: Gathering the Supplies
To begin this exciting project, you’ll need a few essential supplies. Make sure you have the following items ready:
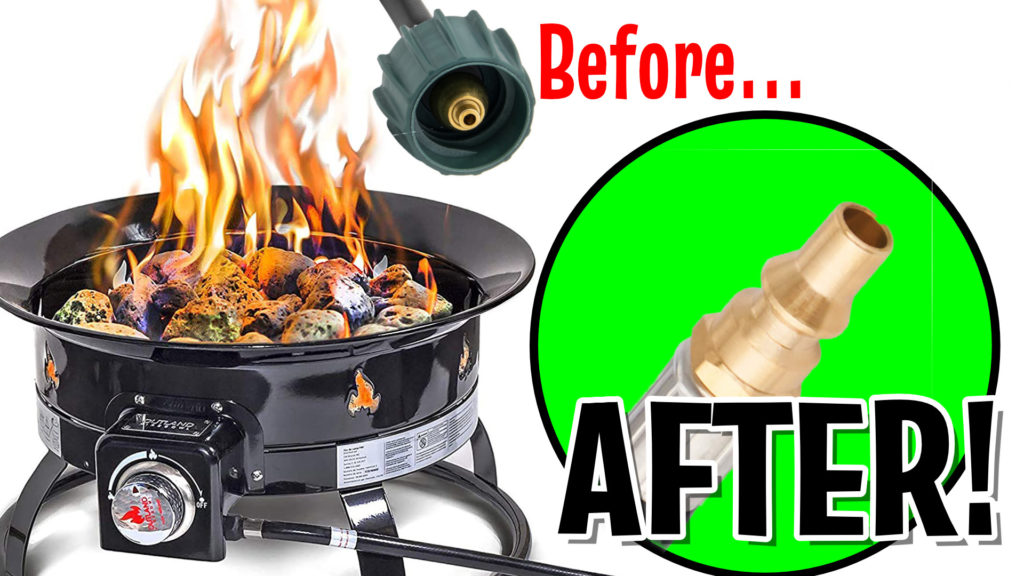
- A quick connect propane hose: Ensure that the hose you select is compatible with your Outland propane firepit and your RV’s propane system. You can find these hoses at your local camping or RV supply store, or on Amazon: Outland Firepit and the Gaspro Quick Connect Hose
- Adjustable wrench: This versatile tool will come in handy for disconnecting the existing propane hose and attaching the new quick connect hose.
Step 2: Safety First
Before proceeding with any project involving propane, it’s crucial to prioritize safety. Ensure that all propane sources are turned off, including the propane tank’s valve and any knobs on the firepit.
Step 3: Disconnect the Existing Hose
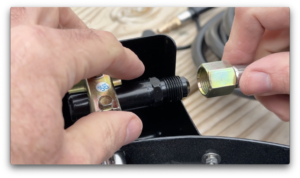
Using the adjustable wrench, carefully loosen the connections on both ends of the existing hose. Start by unscrewing the connection between the hose and the Outland propane firepit. Once detached, repeat the process to disconnect the hose from the 20LB propane tank.
Step 4: Attaching the Quick Connect Hose
With the existing hose removed, it’s time to connect the new quick connect hose. Begin by firmly screwing one end of the quick connect hose onto the Outland propane firepit. Ensure a tight connection to prevent any propane leaks.
Remember, Flare Fittings Don’t Require Teflon Tape or Pipe Dope:
It’s worth mentioning that flare fittings, such as those found on propane hoses, do not require the use of Teflon tape or pipe dope. The flare connection forms a tight seal without the need for additional sealing agents.
Step 5: Connect to the RV
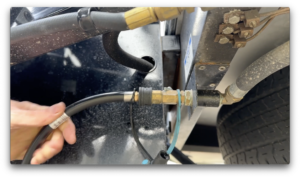
Now, it’s time to connect the other end of the quick connect hose to your RV’s propane system. Locate the quick connect port on your RV. The port is typically marked and can be found near the propane inlet. Align the male end of the quick connect hose with the quick connect port and push firmly until you hear a click. This click signifies that a secure connection has been established.
Step 6: Testing and Enjoyment
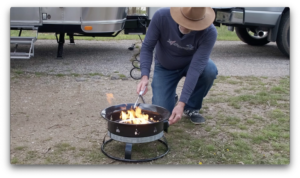
With everything securely connected, it’s time to test your newly modified propane firepit. Turn on the propane supply at the RV’s propane tank, and then turn on the firepit’s control valve. You should see a beautiful flame dancing in the firepit, ready to create a cozy atmosphere for your camping adventures!

